
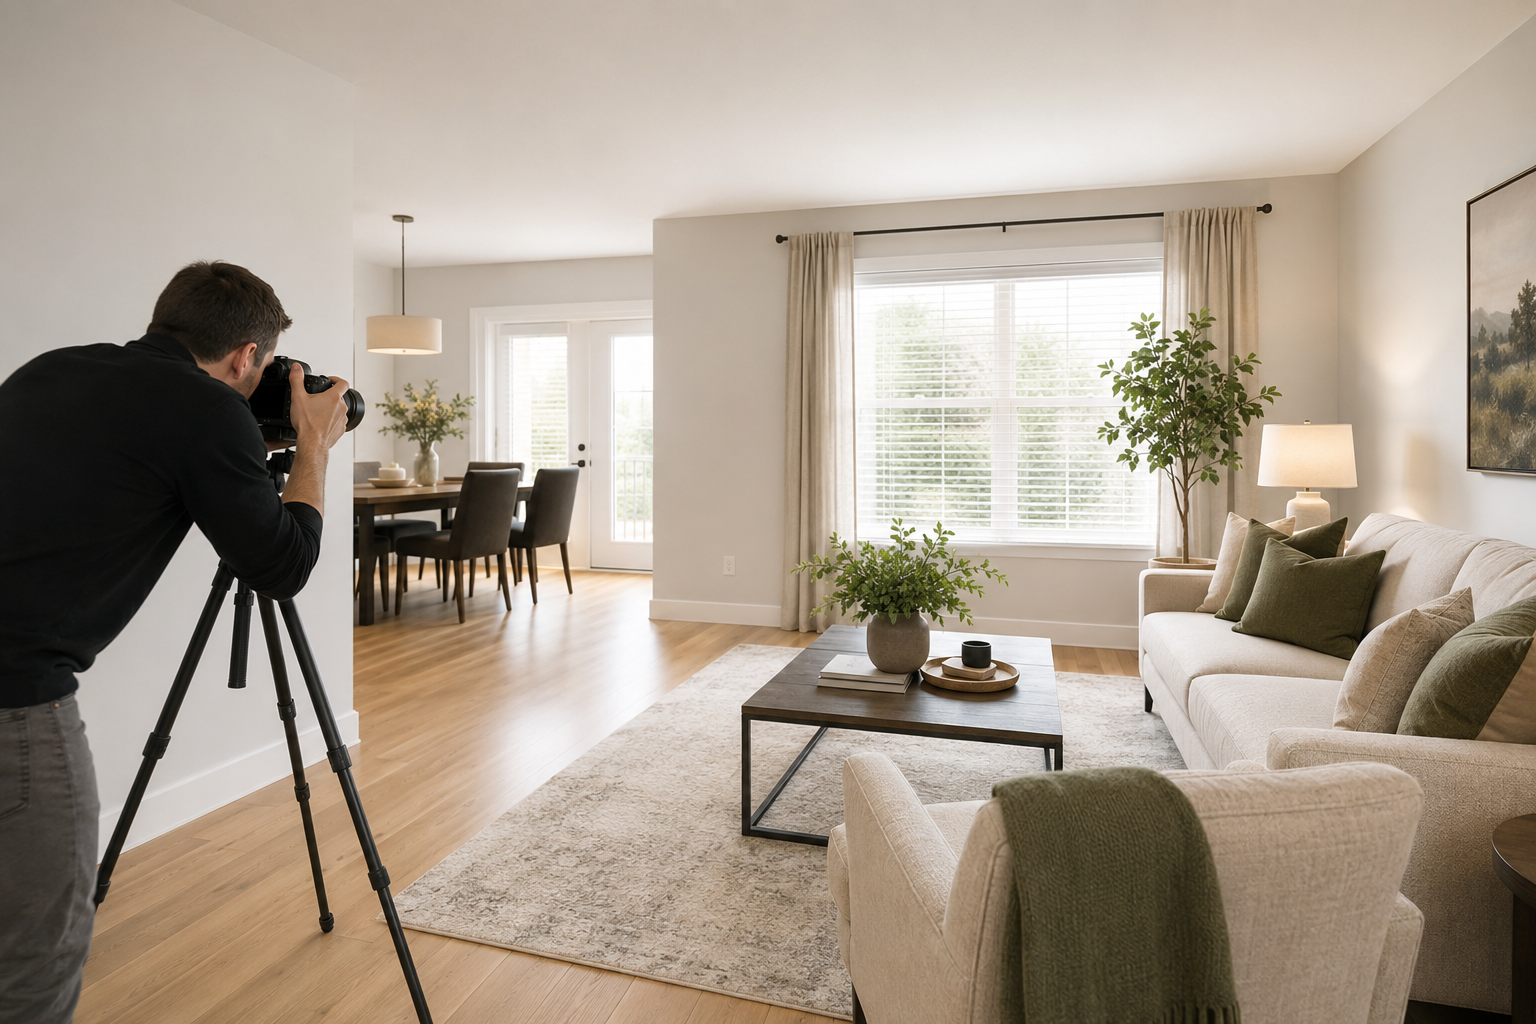

You have booked the photographer, worked through the repairs and tidied more drawers than you care to count. Now comes the final preparation before your home officially meets buyers online, including crucial steps on how to prepare your home for listing photos.
Listing photos are often a buyer’s first look at your property. Before they notice the lovely natural light or generous kitchen, they may notice the recycling beside the door, cords under the desk or three different bottles of dish soap beside the sink. Cameras are helpful that way. They catch everything.
The good news is that most photo-day improvements are simple. A thoughtful final check can help your home look clean, spacious and welcoming when buyers see it online.
Your Listing Photo Checklist
Before your real estate photographer arrives:
- Clean all visible surfaces, floors, mirrors and windows
- Remove everyday clutter and personal items
- Clear kitchen and bathroom counters
- Make every bed and straighten the bedding
- Open blinds and curtains
- Replace burned-out bulbs and use matching light temperatures
- Hide garbage bins, pet supplies, cords and cleaning products
- Tidy the entrance, yard, patio and driveway
- Complete the final preparation before the photographer starts
Why Listing Photo Preparation Matters
Most buyers begin their search online. They scan listing photos quickly and decide which homes deserve a closer look.
Clean, well-prepared rooms are easier to understand in photographs. Buyers can see the size of the room, how the furniture fits and which features make the property special. Clutter, excess furniture and unfinished details can make those same rooms feel smaller or distract attention from their strongest selling features.
In Edmonton and the surrounding communities, buyers may compare your home with several similar listings in the same neighbourhood and price range. Strong photos help your property make a polished first impression from the moment it appears online.
Start with a Thorough Clean
A home can feel clean in person and still show dust, fingerprints and streaks in high-resolution photos.
Pay close attention to:
- Floors, baseboards and corners
- Mirrors and glass shower doors
- Stainless-steel appliances
- Kitchen and bathroom fixtures
- Windows and patio doors
- Cabinet fronts and handles
- Light switches and door frames
- Dust on dark furniture and electronics
Vacuum carpets in one direction so they look even. Mop hard floors early enough that they are completely dry before the photographer arrives.
Remove Visual Clutter
The camera sees a room all at once. Items that barely register during daily life can make a photo feel busy.
Remove or neatly store:
- Mail, paperwork and keys
- Chargers, remotes and visible cords
- Excess décor and small furniture
- Family photographs and highly personal collections
- Tissue boxes, vitamins and medications
- Cleaning supplies
- Garbage and recycling bins
- Laundry baskets
You do not need to empty every room. Keep a few carefully chosen pieces that add warmth and help the space feel finished.
One quick test is to take a photo of the room with your phone. The items that suddenly jump out at you are usually the ones that need another home for photo day.
Prepare the Kitchen
Kitchen counters should look spacious, clean and ready to use.
Before listing photos:
- Put away dishes and empty the sink
- Remove dish soap, brushes, drying racks and towels
- Clear papers, magnets and photos from the refrigerator
- Store small appliances unless they help show a useful feature
- Remove pet bowls, garbage bins and recycling
- Wipe appliances and cabinet fronts
- Straighten stools and dining chairs
- Add one simple finishing touch, such as a bowl of fruit or a small plant
Avoid filling every stretch of counter with décor. Buyers need to see how much workspace the kitchen provides.
Prepare Bathrooms
Bathrooms photograph best when they feel fresh, simple and lightly styled.
- Clear the vanity and shower ledges
- Remove toothbrushes, medications and personal-care products
- Put away the toilet brush, garbage bin and bathmat
- Close the toilet lid
- Hang clean, coordinating towels
- Polish mirrors, taps and glass
- Check that toilet paper rolls look tidy
- Add one small plant or simple accessory if the room needs warmth
Brightly coloured product bottles have a remarkable talent for becoming the main character in bathroom photos. Give them the day off and put them away.
Prepare Bedrooms
The bed is usually the largest feature in a bedroom, so give it a little extra attention.
- Use clean, simple bedding
- Smooth the duvet and straighten the bed skirt
- Fluff pillows and arrange them evenly
- Clear bedside tables
- Hide charging cords and personal items
- Remove laundry, exercise equipment and items stored on the floor
- Reduce excess furniture if the room feels tight
- Check underneath the bed if it is visible in the photo
In children’s rooms, keep a few toys or books and store the extras. The room can still feel age-appropriate while looking organized and easy to understand.
Prepare Living and Dining Areas
These rooms help buyers imagine daily life and entertaining in the home.
- Straighten furniture and allow clear walking paths
- Fluff sofa cushions
- Fold throws neatly
- Remove extra side tables, floor baskets and bulky pet beds
- Clear the dining table or use one simple centrepiece
- Straighten artwork, lamps and chairs
- Hide remotes and cords
- Turn off televisions and computer screens
If a room has a fireplace, large window or attractive view, make sure furniture and accessories guide attention toward that feature.
A large 5-6 foot plant at the far end of the room, towards the focal point really helps draw the eye to that direction.
Check Lighting Throughout the Home
Replace burned-out bulbs before photo day. Use bulbs with a consistent colour temperature within each room so the light does not shift from warm yellow to cool blue.
Open curtains and blinds unless the photographer directs otherwise. Clean windows and remove anything blocking natural light. Your photographer will decide which lights should be on for each shot, so make sure every fixture works.
Remember the Entry and Exterior
Buyers form an opinion before they reach the front door, and exterior photos often become the main image for the listing.
Depending on the season:
- Sweep the steps and walkway
- Remove shoes, tools, hoses and garbage bins
- Shake out or replace a worn doormat
- Clean the front door and exterior lights
- Put away children’s toys and pet supplies
- Arrange outdoor furniture
- Mow the lawn and tidy garden beds
- Shovel snow and clear icy walkways
- Move vehicles out of the driveway
Edmonton weather may have its own plans, especially during spring thaw or after a fresh snowfall. Do what you can to make the entrance clean, safe and welcoming.
What to Do with Pets on Photo Day
Arrange for pets to be out of the home or safely contained while the photographer works. This keeps them comfortable and allows the photographer to move efficiently between rooms.
Before they leave, put away:
- Food and water bowls
- Leashes and toys
- Beds and crates, when practical
- Litter boxes
- Backyard waste
Remove visible pet hair from furniture and floors as part of the final clean.
Avoid the Last-Minute Clutter Shuffle
Moving everything from room to room while the photographer works slows the appointment and makes it easy to miss something.
Use bins or laundry baskets to collect the final everyday items, then place them in your vehicle before the photographer arrives. Avoid putting everything in the garage if the garage will also be photographed.
Aim to have the home fully ready at least 30 minutes before the appointment. That gives you time for one calm walkthrough and saves you from hiding the toaster in a coat closet as the doorbell rings.
Your Final Five-Minute Walkthrough
Stand at the doorway of each room and look for anything that feels crooked, crowded or distracting.
Check that:
- Beds are smooth and pillows are even
- Chairs and stools are straight
- Curtains and blinds match
- Countertops are clear
- Doors to rooms are open
- Closet doors and drawers are closed
- Toilet lids are down
- Floors are clear
- Personal and pet items are out of sight
- The exterior is ready
Then take a breath. Your home is ready for its close-up.
Yes, I agree, its alot of work, but trust me when I say, it is worth every penny (literally). I have created the checklist into a downloadable form for you to take with you from room to room. If you have any questions, please feel free to reach out.
Frequently Asked Questions
Should I remove all family photos before listing pictures?
You do not need to make your home feel empty. Remove large displays and very personal photographs that draw attention away from the room. A few subtle family photos are usually fine if the overall space feels clean and uncluttered.
Should all the lights be on for real estate photos?
Make sure every bulb works and let the photographer decide which lights to use. Natural light, room direction and photography style can affect that choice.
Where should I put things during listing photos?
Pack non-essential items ahead of time. Place the final everyday items in bins and move them to your vehicle. Do not rely on closets, storage rooms or the garage if those spaces will be photographed.
Do closets need to be organized for listing photos?
Ask your REALTOR® which closets and storage areas will be photographed. Even when they are not included in the listing, buyers may look inside during showings, so an early tidy will still help.
How far in advance should I prepare my home?
Begin decluttering and completing repairs one to two weeks before the appointment when possible. Schedule the deep clean shortly before photo day and finish styling and personal-item removal the day before.
Need a Second Set of Eyes Before Photo Day?
When you live in a home, it is easy to stop noticing the small details. I help Edmonton-area homeowners and REALTORS® prepare properties for listing photos with clear, practical staging advice.
If you would like help deciding what should stay, what should move and which changes will make the biggest difference, book a home staging consultation or a Pre-Listing Assessment with Stage and Style by Leigh.